Welcome to the Ottimate Offline Payments feature guide. This feature gives your team the ability to upload a CSV file within VendorPay to quickly generate offline payments in bulk.
This guide outlines how the feature works, template requirements, step-by-step instructions, and answers to common questions.
Overview & Benefits
The Offline Payments Import tool is designed to give you total control over how offline payments are recorded and matched against your bank activity.
Mirror Your Bank Account: Structure and batch payments together in a single file to perfectly match how actual drafts are pulled from your bank account.
Accurate Transaction Dates: Manually specify the exact date the payment occurred, instead of defaulting to the Invoice Due Date.
Consolidated Payments: Group multiple invoices from the same vendor under a single transaction.
Example Use Case: Your bank statement shows a single draft of $1,007.51 to cover two separate invoices ($907.32 and $100.19) on 8/24/2022. Using this feature, you can upload a single file to group both invoices under one unified offline payment rather than processing them individually.
CSV File Requirements
To ensure a successful upload, your import file must be saved as a .CSV format and include the following column headers exactly as listed below:
Step-by-Step Instructions
Prepare Your File: Fill out your offline payments CSV template using the required columns above.
Navigate to Bill Pay: Log into Ottimate and open the VendorPay module.
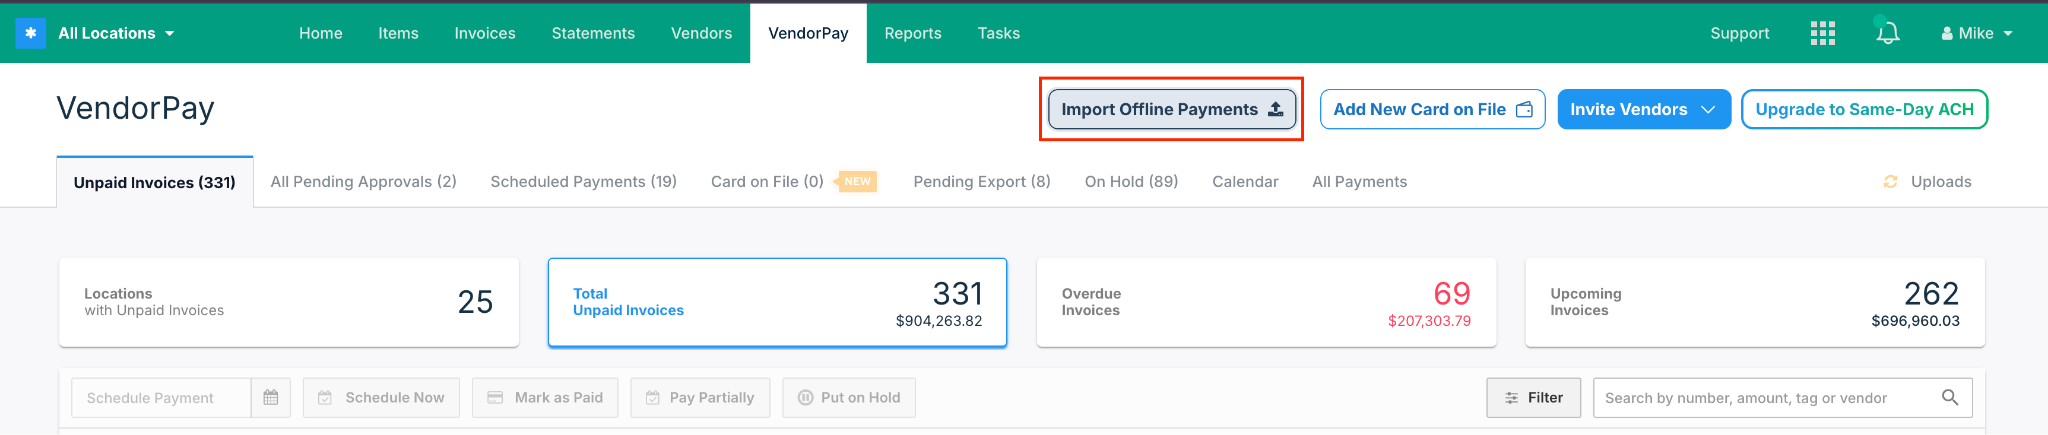
Upload the File: Click the Import Offline Payments button located at the top of the interface.
Select and Submit: Select your CSV file from your computer and upload it.
Export to ERP: Once processed successfully, the generated payments will automatically move to the Pending Export tab, ready to be synced with your accounting system as usual.
Error Handling Configurations
Depending on your preference, we can configure in the backend how the system handles missing invoices during setup:
Strict Mode (Default): If an invoice in your CSV file is not found in Ottimate, the entire file will error out and stop processing. No payments will be recorded until the file is fixed.
Skip Mode: If an invoice is missing, the system will skip only that specific row, process and mark the remaining valid invoices in the file as paid, and output an error log indicating which invoice was missing.
Frequently Asked Questions (FAQ)
What happens if a Transaction Number (ID) has already been used?
Ottimate does not have duplicate transaction number validation for this feature. If a transaction number is in the file, the system will use it. If the same Transaction ID appears multiple times in the same file, the system will group those invoices together under that single ID (provided they belong to the same vendor).
What happens if an invoice in the file is already marked as paid?
The system will generate an error telling you exactly which invoices are already paid. For the upload to succeed, all invoices included in the file must currently be in a verified/incomplete and unpaid status.
What if an invoice already has an automatic offline payment generated by the system?
You can safely delete or cancel the system-generated offline payment. Canceling a payment frees the invoice back up to an unpaid status, allowing you to include it in your custom manual CSV import.
Who will show as the user who marked the invoice as paid?
The "Marked as Paid" tag visible at the top of the invoice will state "Marked as Paid by Ottimate.
Was this article helpful?
That’s Great!
Thank you for your feedback
Sorry! We couldn't be helpful
Thank you for your feedback
Feedback sent
We appreciate your effort and will try to fix the article